The Tutorial Video of Mintion UV Sensor
Installation and usage tutorial
Installation Tutorial:
The example will be shown by using the Anycubic Photon Mono 4K 3d printer.
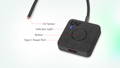
1. Power up the UV sensor, the LED will be solid illuminating.
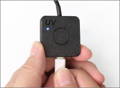
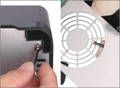
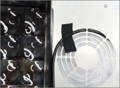
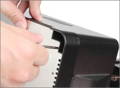
2. Unscrew the screws on the base and insert the sensor through the fan hole.
3. Stick the UV cable to the house of 3d printer UV light and keep the sensor face to the screen.
DO NOT insert the UV cable into the house of UV light, otherwise, it might cause the failure of printing.
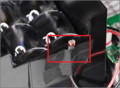
4. Stick the cable to the base to prevent it fall when dragging.
5. Lock the screws on the base to check the installation is good.
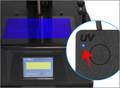
6. Turn on the UV light in illumination on 3d printer and check if the Blue LED on UV sensor is fast flashing triple times.
OperationTutorial:
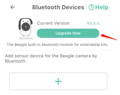
1. Before adding the UV sensor to the Beagleprint app(in camera setting and firmware V1.1.8 or above), please ensure the bluetooth firmware is upgraded to the latest version.
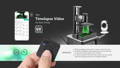
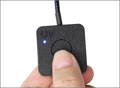
2. Hold the button on UV sensor for 3 seconds, the LED will be slow flashing, the UV sensor is on matching status.
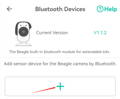
3. Click the "+" button to add and search for the UV sensor.
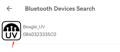
4. Click the UV sensor on the search result to add.
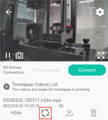
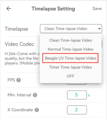
5. Select the UV time-lapse video mode on the camera setting page.
6. Input the model total layers on the page to ensure to have a completed time-lapse video.

7. Click the print button on the resin 3d printer and observe the LED on UV sensor is flashed in triple time when the first layer is projected.
8. If the rotation icon is rating on the timelapse videos list, that means the video is in recording.